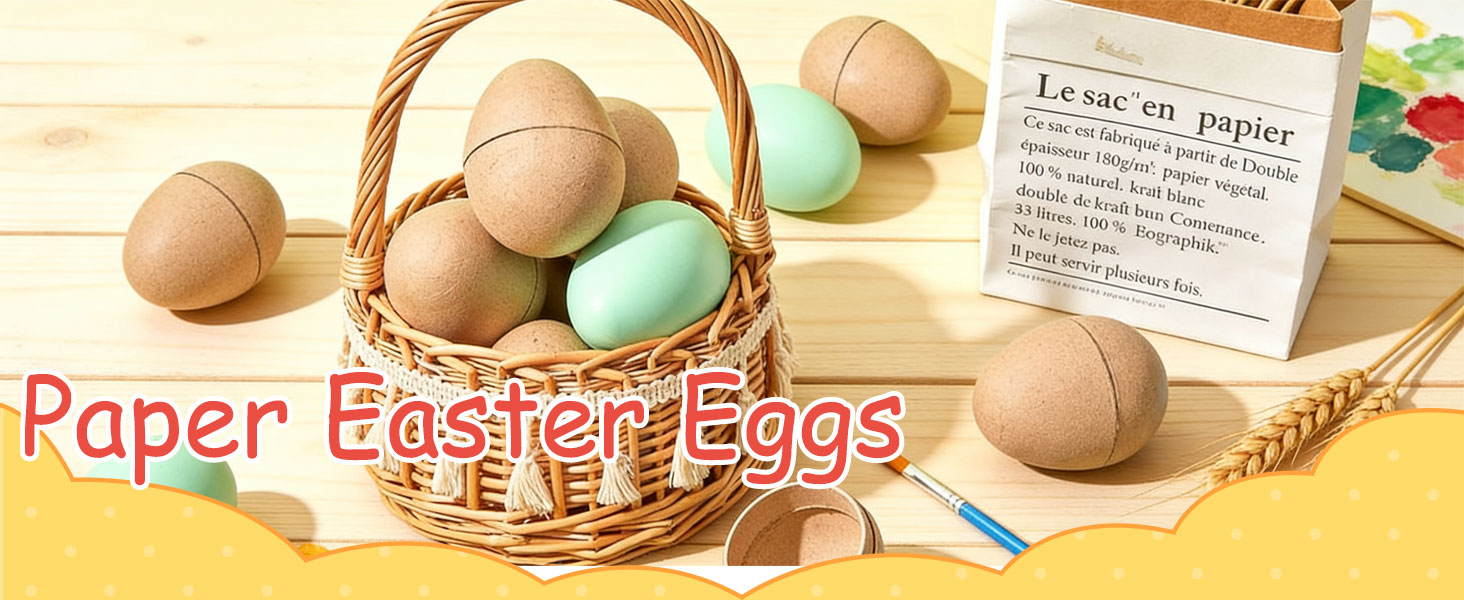
Paper Mache Eggs: The Ultimate Canvas for Creative Easter Crafts
When Easter approaches, crafters of all ages look for fresh ways to express their creativity. Paper mache eggs have quietly become one of the most versatile and beloved materials for seasonal crafting. Unlike fragile real eggs or plastic alternatives, paper mache eggs offer a lightweight, durable, and paintable surface that welcomes every idea from simple pastel designs to intricate folk art. Whether you are planning a family afternoon of painting or preparing a classroom project, these paintable Easter eggs deliver endless possibilities without the stress of breakage.
Why Paper Mache Eggs Deserve a Place on Your Craft Table
Paper mache—also spelled papier-mâché—is made from paper pulp or strips combined with an adhesive, then molded into shape. The result is a solid yet lightweight egg that holds paint beautifully. Because the surface is slightly porous, acrylics, tempera, and even watercolors adhere well, allowing for smooth coverage and fine detail work. Unlike real eggs, paper mache eggs do not need to be hollowed, blown out, or handled with extreme care. They are also reusable: if you grow tired of a design, a fresh coat of primer or gesso gives you a blank canvas again.
“Painting paper mache eggs feels like decorating a tiny three-dimensional canvas—forgiving, fun, and impossible to crack.”
Getting Started: Preparation Makes Perfect
Before you pick up a brush, a little preparation goes a long way. Most paper mache eggs arrive with a slightly rough texture. A light sanding with fine-grit sandpaper smooths the surface, and a coat of gesso or white acrylic primer creates an even base for your colors. This step is especially important if you plan to use light or pastel shades, as the natural brownish tone of some paper mache can dull bright pigments. Once the primer is dry, gather your supplies: acrylic paints, assorted brushes, sponges, masking tape, and a water cup. Cover your workspace with newspaper or a disposable cloth, and wear an apron if you are feeling messy.
Painting Techniques for Stunning Painable Easter Eggs
There is no single right way to paint a paper mache egg. The shape naturally invites a variety of approaches. For a classic look, apply two thin coats of a solid color and let each layer dry completely. Thin coats prevent drips and produce a smoother finish. For a more artistic effect, try sponge painting: dab a sea sponge into two or three complementary colors and gently press it onto the egg for a mottled, organic texture. Masking tape can create crisp stripes or geometric patterns—wrap tape around the egg, paint the exposed area, then peel the tape away while the paint is still slightly tacky for clean edges.
Detail work is where paper mache eggs truly shine. Use a fine liner brush to add dots, swirls, or tiny flowers. Metallic paints add a festive shimmer, while matte finishes feel more rustic and handmade. If you want to try a traditional Eastern European style, sketch a simple design with a pencil first, then fill in the areas with bold colors. Remember that paper mache eggs are three-dimensional, so turn them often to check your design from every angle. A small wooden dowel or a cardboard tube can serve as a drying stand and make rotating the egg much easier.
Creative Craft Ideas Beyond the Paintbrush
Painting is only the beginning. Paper mache eggs can be embellished with decoupage, glitter, beads, or even fabric scraps. For a nature-inspired theme, glue on tiny dried flowers or leaves and seal them with a coat of Mod Podge. For a whimsical look, add googly eyes and pipe cleaner legs to transform an egg into a tiny bunny or chick. Children love to create egg animals, while adults may prefer elegant marbled effects using nail polish and water. Another popular option is to paint the eggs in solid farmhouse colors—cream, sage, and dusty blue—then lightly sand the edges to create a distressed, vintage appearance. The possibilities are limited only by your imagination and the materials on hand.
Displaying and Preserving Your Handmade Eggs
Once your paper mache eggs are complete, allow them to dry fully for at least twenty-four hours before handling them extensively. A clear acrylic sealer or a coat of matte varnish will protect the paint from chipping and make the eggs easier to dust. Display them in a decorative bowl, arrange them on a cake stand, or hang them from ribbon loops threaded through a small hole at the top. If you plan to store your eggs for next year, wrap each one individually in tissue paper and place them in a sturdy box. Avoid storing them in damp areas, as moisture can warp the paper mache over time.
Paper mache eggs are more than a simple Easter craft—they are an invitation to slow down, experiment, and create something personal. Whether you are painting with grandchildren, hosting a craft night with friends, or working on a solo artistic project, these paintable Easter eggs offer a satisfying and forgiving medium. This season, skip the fragile shells and reach for paper mache. With a little primer, a few brushes, and your favorite colors, you can turn a plain egg into a small work of art that lasts for years.